1. Lesson Objectives: Understand different components' functions in Matatalab Lite, understand how to pair different parts, understand different modes in Matatalab Lite.
2. Time: 30 mins
3. Language: English
4. Format: Completely Online
5. Level: Beginner
Unit List:
1. Introduction Video
2. What's Included
3. Get Started Quickly
4. Control Mode
5. Coding Mode
6. Sensor Mode
7. Q&A
Unit 1. Introduction Video
Unit 2. What's included
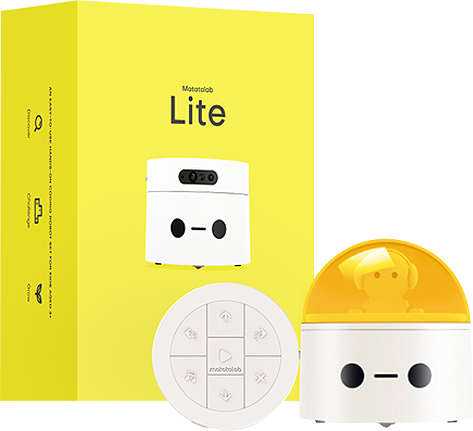
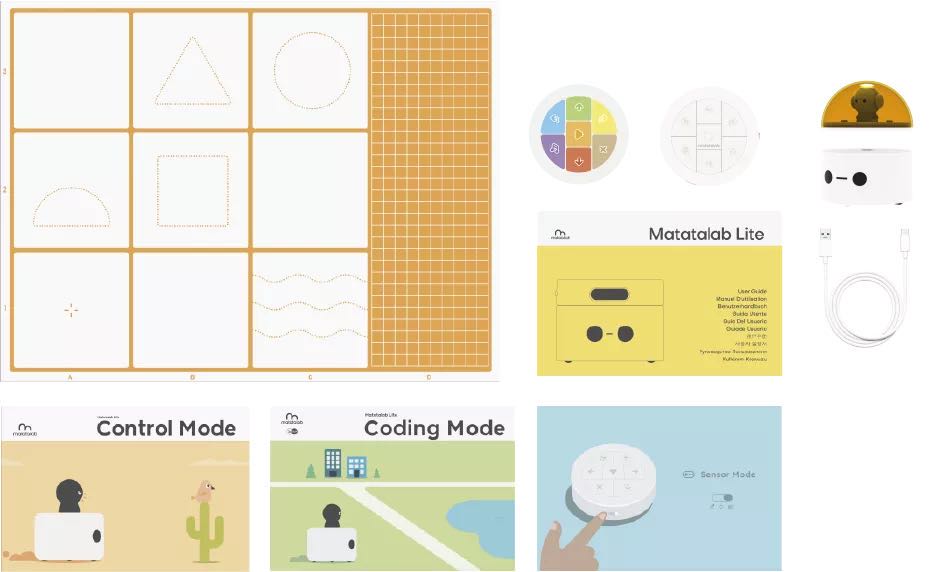
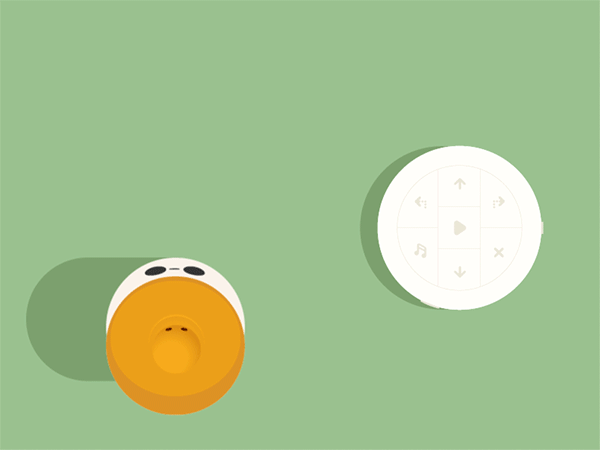
In Matatalab Lite, these are included:
1. MatataBot
2. Matatalab Figure Component
3. Controller
4. Lite Map
5. USB-C Cable
6. Matatalab Lite User Guide
7. Warm-Up Booklet
8. Challenge Booklet
9. Themed Sticker
Unit 3. Get Started Quickly
3.1 Three Modes:
Control Mode; Coding Mode; Sensor Mode
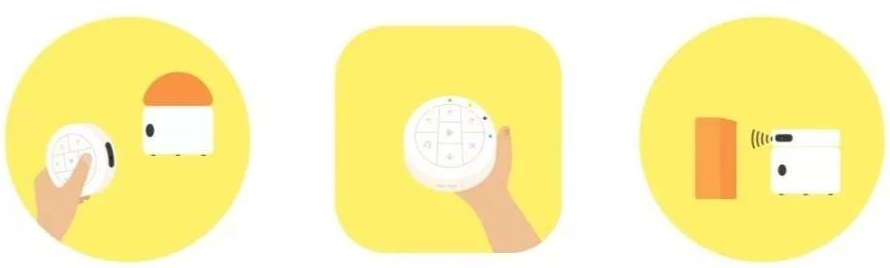
3.2 How to Pair:
Press Power Button for 3 seconds to turn on the controller and MatataBot and they will pair automatically, when they pair successfully, there will be a "Ding" tone, both indicator lights will turn blue and stay on.
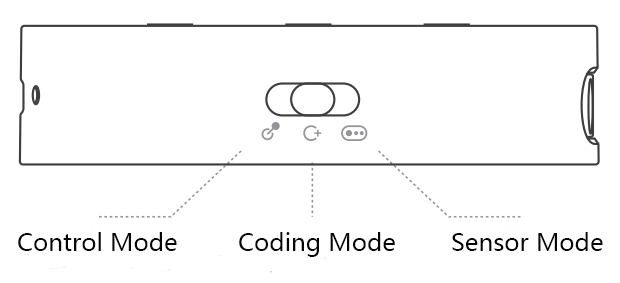
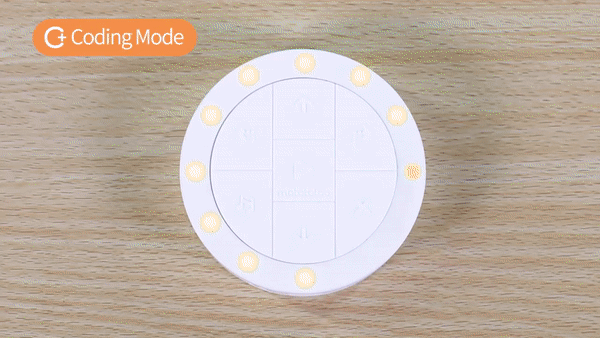
3.3 Modes Switch:
You can use the toggle button on the side of the controller to toggle between modes. From left to right are the control mode, coding mode, sensor mode.
Unit 4. Control Mode
4.1 Basic Control:
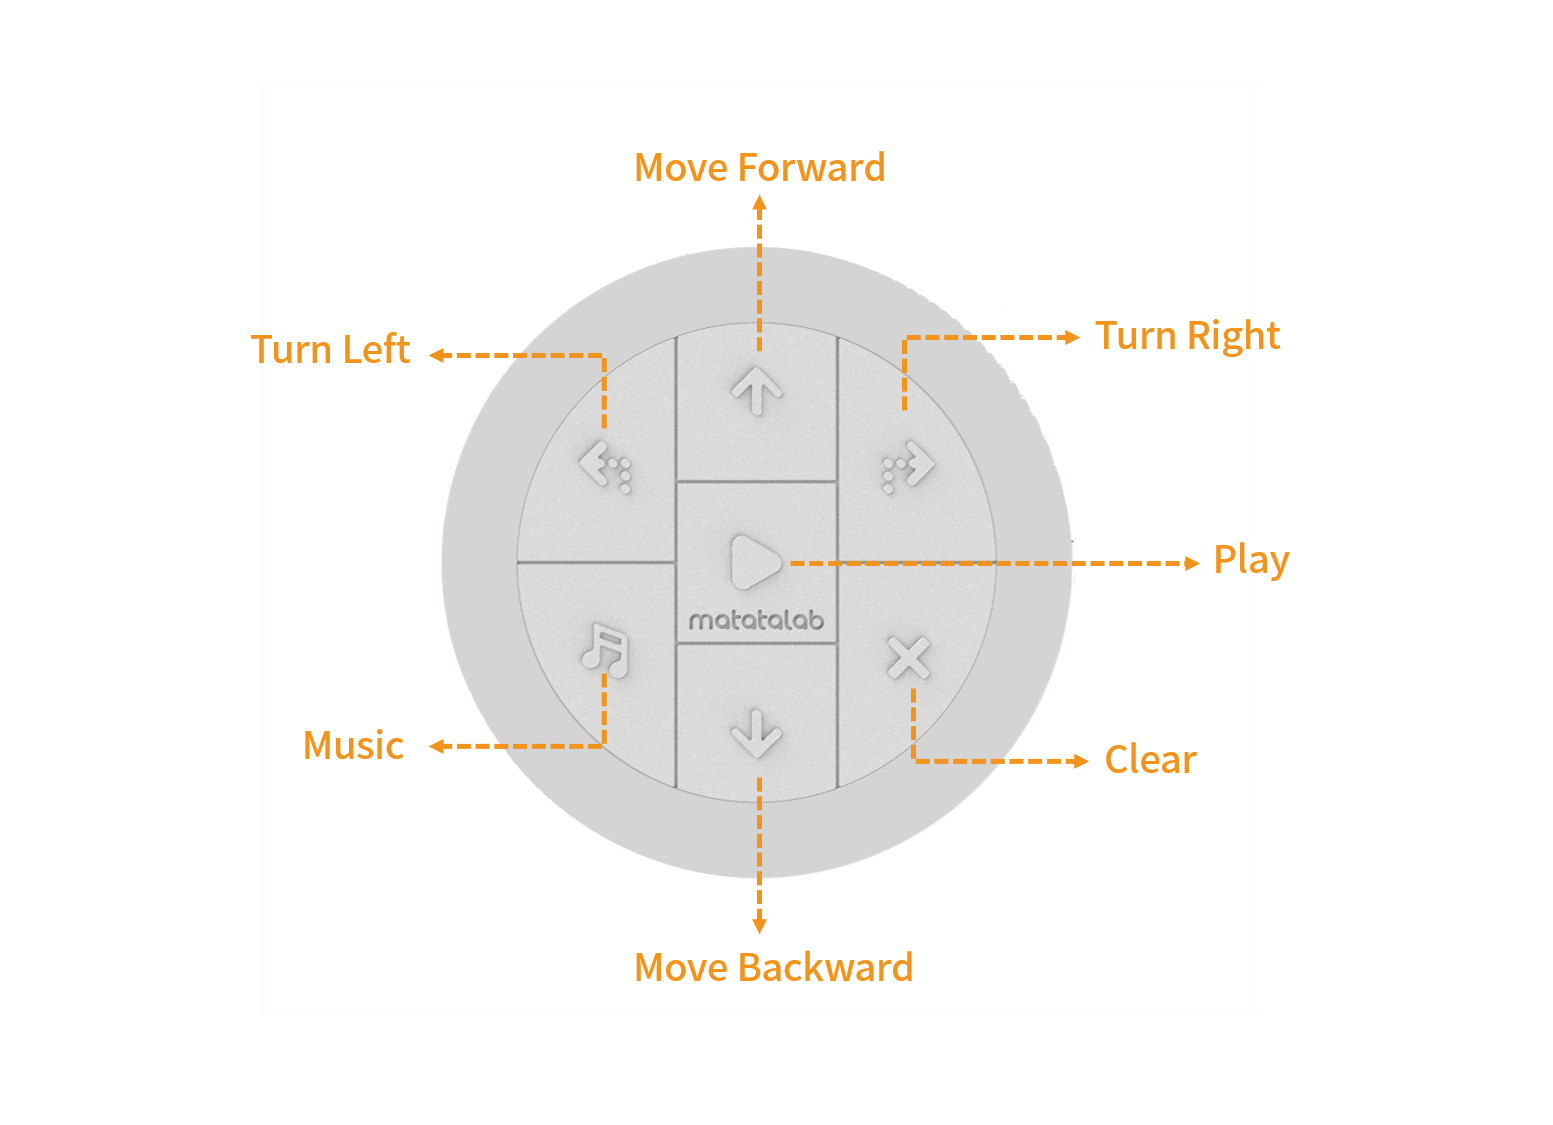
In Control Mode, students can use the buttons on the controller to control MatataBot move forward, move backward, turn left, and turn right. The music button can make MatataBot play random music, press the clear button to stop the music.
4.2 Hidden Features:
In Control Mode, there are several hidden features students can explore. The first is that students can press and hold the play button to finish a gyro control. Rotating the controller left or right will allow MatataBot to turn left or right, while rotating the controller forward or backward can make the robot move forward and backward. The second hidden feature is color detection, where students can press and hold the music button and play different sounds based on the different colors detected by the color sensor on the controller. The last one is that students can press and hold the clear button and shake the controller to play a racing game. The faster you shake, the faster MatataBot will move.
Unit 5. Coding Mode
How to use:
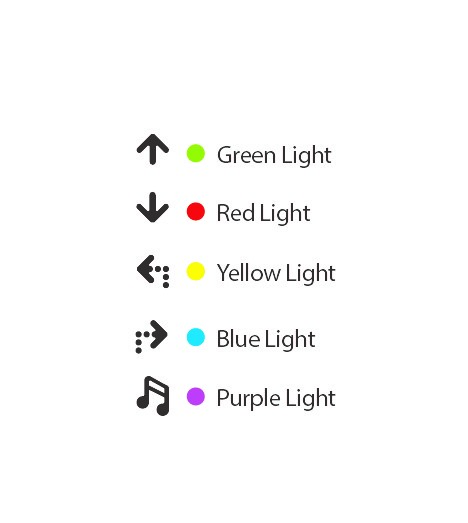
In Coding Mode, students can send a program to MatataBot by pressing the buttons on the controller to input commands. There are specific lights on the controller (ie. Green, Blue, Yellow, Red, etc) This will help students remember their commands and help them run "debugging" jobs. Each forward and backward command will let MatataBot move approx. 100 mm in the required direction. Each turn command will let MatataBot to turn 90 degrees. Press the buttons to code, then press the Play button to start MatataBot. Press Play button whilst a sequence is running will stop the sequence. Press the Clear button to clear the coding step.
(Note: There are only 12 LED lights on the controller, the lights will be replaced when you input over 12, but the controller will still remember the previous commands)
5.2 Hidden Features:
Students can use Coding Mode to program MatataBot to draw different shapes.

Unit 6. Sensor Mode
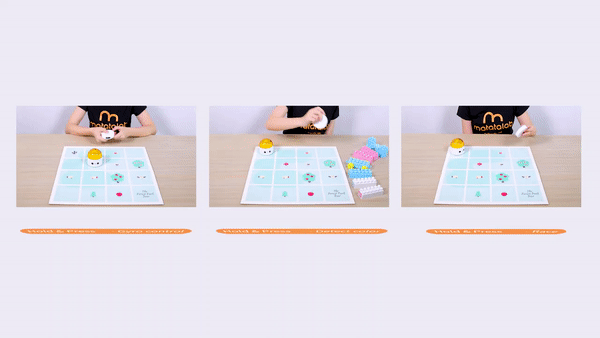
Sensor Mode unlocks numerous functions of Matatalab products to help students experience advanced coding. There are different sensors (Microphone, Color Sensor, Distance Sensor, Light Sensor) built in the controller to help it judge obstacles, detect surround sounds, lights, and colors to send different commands to MatataBot. There are two ways to play sensor mode, the first one is to use the app, and the second one is to use the command tower combined with control board and sensor coding blocks from the Sensor Add-On package.
Unit 7. Q&A
-
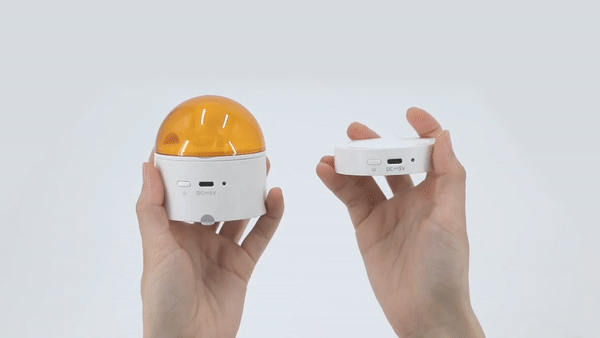
Q1: How to charge MatataBot and the Controller?
A1: Charge both the MatataBot and the Controller through the USB-C charging cable (A charging cable is included in the box, or use the common USB-C mobile phone charging cable to charge the two components at the same time).
Q2: When should I charge the MatataBot and the Controller? How long it will take?
A2: The blue light flashes quickly when the MatataBot or Controller power is low; the red light is always on during charging; the green light is always on when fully charged. The MatataBot charges for 1.5 hours and its working time is 5 hours; the Controller charges for 1.5 hours, and its working time is 8 hours.
Q3: How are they re-paired?
A3: Quickly press the power button on the Contoller three times. The Controller will launch the Bluetooth re-pairing mode, and it will quickly flash the blue light. · The sound "Ding", indicates that the Controller and the MatataBot have been successfully paired, and the indicator lights of both become blue.
Q4: What age is suitable for kids to use Matatalab products?
A4: Matatalab educational robot is designed for children from 3-9 years old. It is a very friendly programming enlightenment education product for children. It is suitable for kids from kindergarten to elementary school age.
Q5: Do children need to master programming in order to use Matatalab robots?
A5: No, children do not need any programming or reading knowledge.
Copyright © 2023 MATATALAB CO., LTD. All Rights Reserved