1. Lesson Objectives: Know what is included in Matatalab Animation Add-On package, understand how to make MatataBot make a continuous movement, understand how to stop MatataBot's moving, understand how to make MatataBot draw a circle and make a U-turn.
2. Time: 25 mins
3. Language: English
4. Format: Completely Online
5. Level: Advanced
6. Prerequisites: Matatalab Coding/Pro Set Course (or used Matatalab Coding Set before).
Unit List:
1. Introduction
2. What's Included
3. Get Started Quickly
4. User Guide
5. Q&A
Unit 1. Introduction
The Animation Add-on takes advantage of MatataBot's Go-Draw feature, enable kids to program the robot to draw amazing shapes and move in unique ways. They can also customize the Matabot’s eyes with different colors and make funny sounds! Finally, kids can now animate the MatataBot how they like through hands-on play! Animation Add- On cannot be used individually, Matatalab Coding/Pro Set is required.
Unit 2. What's included
In Matatalab Lite, these are included:
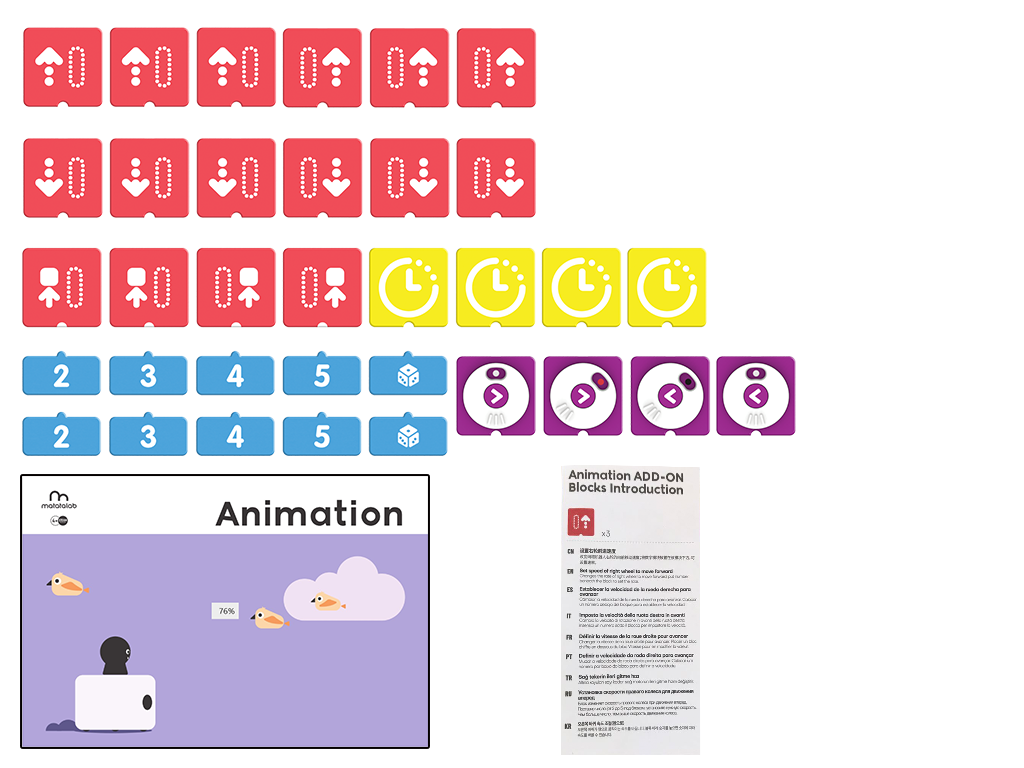
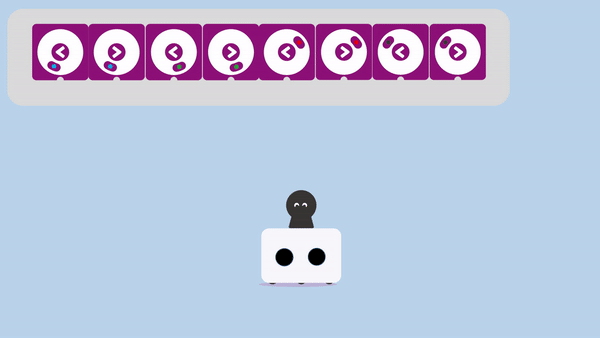
2.1 Coding Blocks
2.2 Animation Add-On Blocks Introduction
2.3 Challenge Booklet
2.4 Important Notice Card
Unit 3. Get Started Quickly
How to Pair:
Use the Matatalab Animation Add-On package, you only need 1 step to finish the pairing.
The step is to pair MatataBot and Command Tower. Press Power Button for 2 seconds to pair Command Tower and MatataBot when they pair successfully, there will be a "Ding" tone, both indicator lights will turn blue and stay on.
Unit 4. User Guide
4.1 Continuous Movement:
The biggest difference between Animation Add-On coding blocks and Motion coding blocks in the Coding/Pro Set is that the Set Speed of Wheel coding blocks in Animation Add-On will let MatataBot make a continuous movement, but motion coding blocks can only let make MatataBot make one movement at a time.
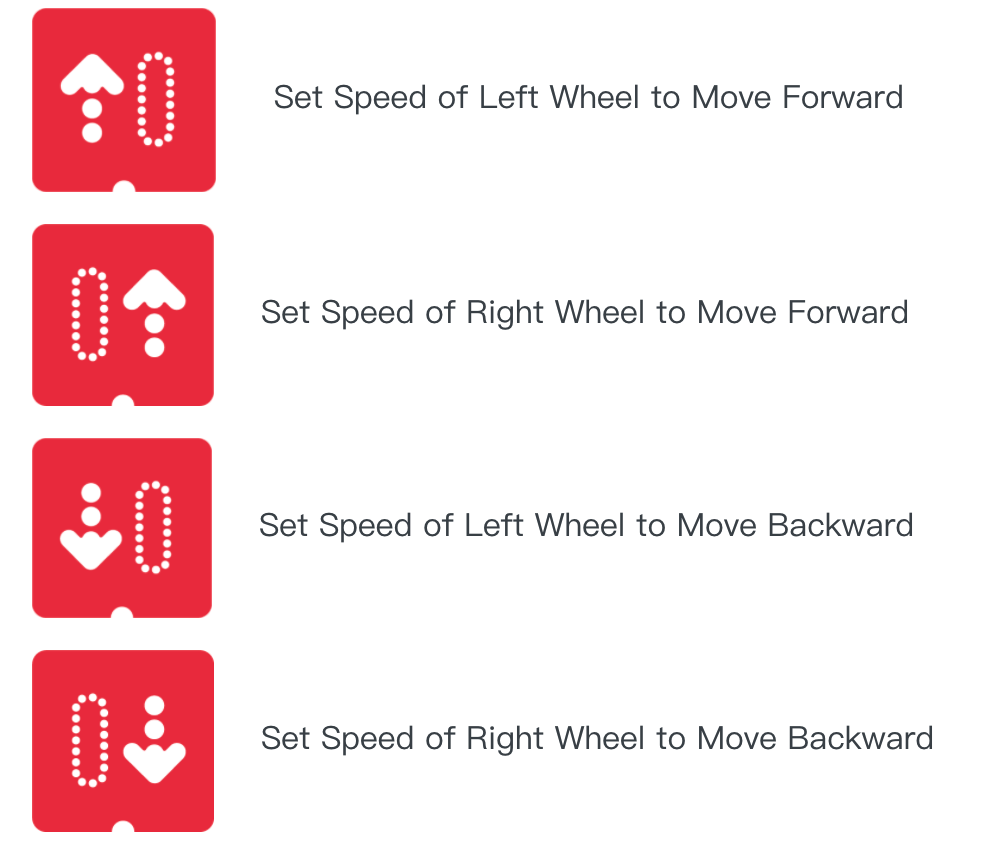
Use Set Speed of Left Wheel to Move Forward and Set Speed of Right Wheel to Move Forward in a pair together can make MatataBot keep moving forward, and use Set Speed of Left Wheel to Move Backward and Set Speed of Right Wheel to Move Backward in a pair together can make MatataBot keep moving backward. Please use the examples below to see the difference between Animation coding blocks and Motion coding blocks.
Animation Coding Blocks:

Motion Coding Blocks:
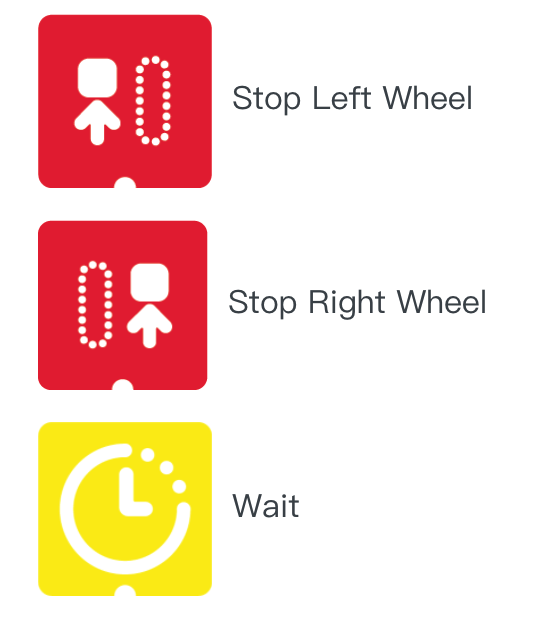
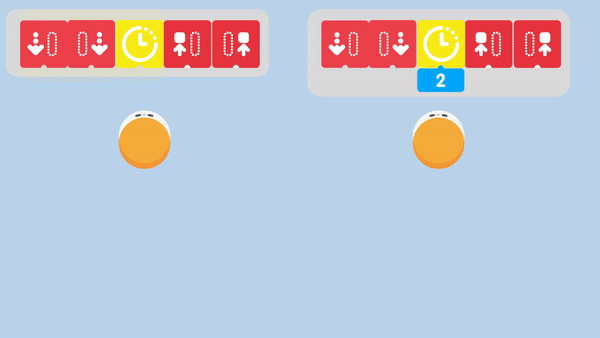
4.2 Stop MatataBot:
Only using Set Speed of Left Wheel to Move Forward, Set Speed of Right Wheel to Move Forward, Set Speed of Left Wheel to Move Backward, and Set Speed of Right Wheel to Move Backward coding blocks, MatataBot will not stop. If we only want MatataBot to move a distance, Wait coding blocks, Stop the Left Wheel coding blocks, and Stop Right Wheel coding blocks are required.
Wait coding blocks can pause the command for a specified amount of time, default for around 1 sec, put Number coding blocks beneath to change the pause time. Stop the Left Wheel coding blocks, and Stop Right Wheel coding blocks can make MatataBot stop its left wheel and right wheel separately.
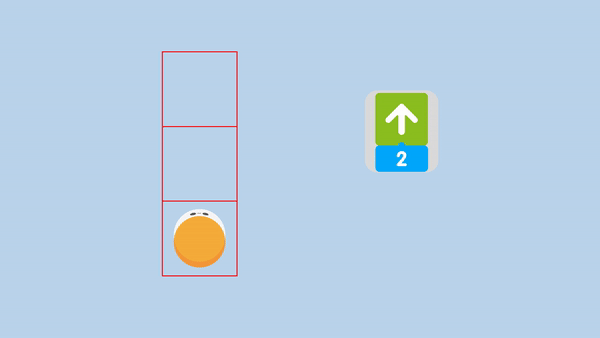
Please use the examples below to see the effect of using these coding blocks:
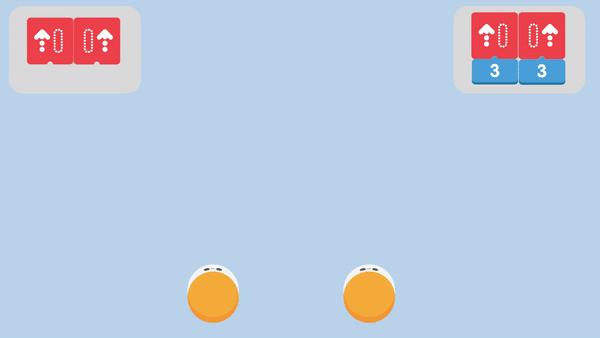
4.3 Speed Change
When used with Number coding blocks with Set Speed of Left Wheel/Right Wheel coding blocks can change the speed of the left wheel and right wheel separately. For example, when using Number 3 coding blocks with Set Speed of Left Wheel/Right Wheel coding blocks, it can increase the speed of the left wheel and right wheel to 3.
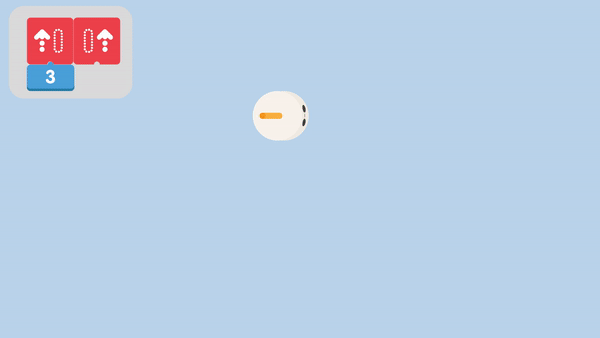
4.4 Drawing Circles/U-Turn
When used different Number coding blocks with Set Speed of Left Wheel/Right Wheel coding blocks separately can let MatataBot's left wheel and right wheel have different speeds. In this case, MatataBot can draw circles and make a U-turn. Additionally, when one of the wheels is stopped, another wheel is moving, it can also let MatataBot draw a circle and make a U-turn.
Examples provided below:

4.5 Left/Right LED Color Coding Blocks:
In Matatalab Animation Add-On package, there is also a kind of coding block to make MatataBot's eyes display different colors to make students enjoy the fun of learning with Matatalab.

Shuffle the Left/Right LED Color coding blocks to color black to turn off the eye lights. An example provided below:
Note: Use Left/Right LED Color coding blocks with Number coding blocks can change the brightness of the LED lights.
Unit 5. Q&A
- Q1: How to charge MatataBot and the Command Tower?
- A1: Charge both the MatataBot and the Command Tower through the USB-C charging cable (A charging cable is included in the box, or use the common USB-C mobile phone charging cable to charge the two components at the same time).
- Q2: When should I charge the MatataBot and the Command Tower? How long it will take?
- A2: The blue light flashes quickly when the MatataBot or Command Tower power is low; the red light is always on during charging; the green light is always on when fully charged. The MatataBot charges for 1.5 hours and its working time is 5 hours; the Command Tower charges for 3.5 hours, and its working time is 5 hours.
- Q3: How are they re-paired?
- A3: Quickly press the power button on the Command Tower three times. The Command Tower will launch the Bluetooth re-pairing mode, and it will quickly flash the blue light. · The sound "Ding", indicates that the Command Tower and the MatataBot have been successfully paired, and the indicator lights of both become blue.
- Q4: What age is suitable for kids to use Matatalab products?
- A4: Matatalab educational robot is designed for children from 3-9 years old. It is a very friendly programming enlightenment education product for children. It is suitable for kids from kindergarten to elementary school age.
- Q5: Do children need to master programming in order to use Matatalab robots?
- A5: No, children do not need any programming or reading knowledge.
Copyright © 2023 MATATALAB CO., LTD. All Rights Reserved