1. Lesson Objectives: Know what is included in Matatalab Sensor Add-On package, understand the coding blocks included, especially Wait Until coding blocks, understand how to use them with other coding blocks.
2. Time: 30 mins
3. Language: English
4. Format: Completely Online
5. Level: Advanced
6. Prerequisites: Matatalab Coding/Pro Set Course (or used Matatalab Coding Set before).
Unit List:
1. Introduction
2. What's Included
3. Get Started Quickly
4. Coding Blocks
5. Q&A
Unit 1. Introduction
The Sensor Add-on enhances the coding adventure, enable kids to program the MatataBot to detect and react to obstacles, colors, and even sound. Kids can also control the onboard LED lights embedded into the Matatalab Controller to customize their code to their imagination. Sensor Add-On package cannot be used individually, other Matatalab Products need to be combined, such as Matatalab Coding/Pro set, Matatalab Animation Add-On package.
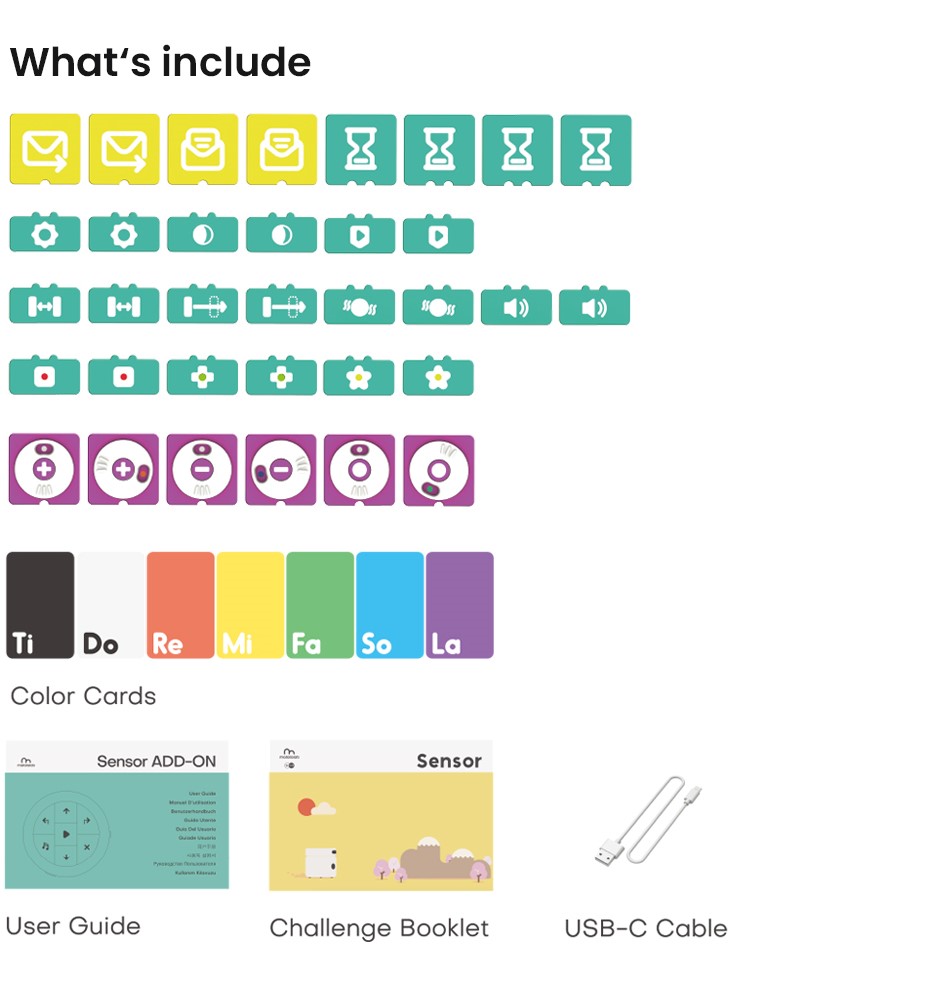
Unit 2. What's included
In Matatalab Lite, these are included:
2.1 Coding Blocks
2.2 Color Cards
2.3 User Guide
2.4 Challenge Booklet
2.5 USB-C Cable
Unit 3. Get Started Quickly
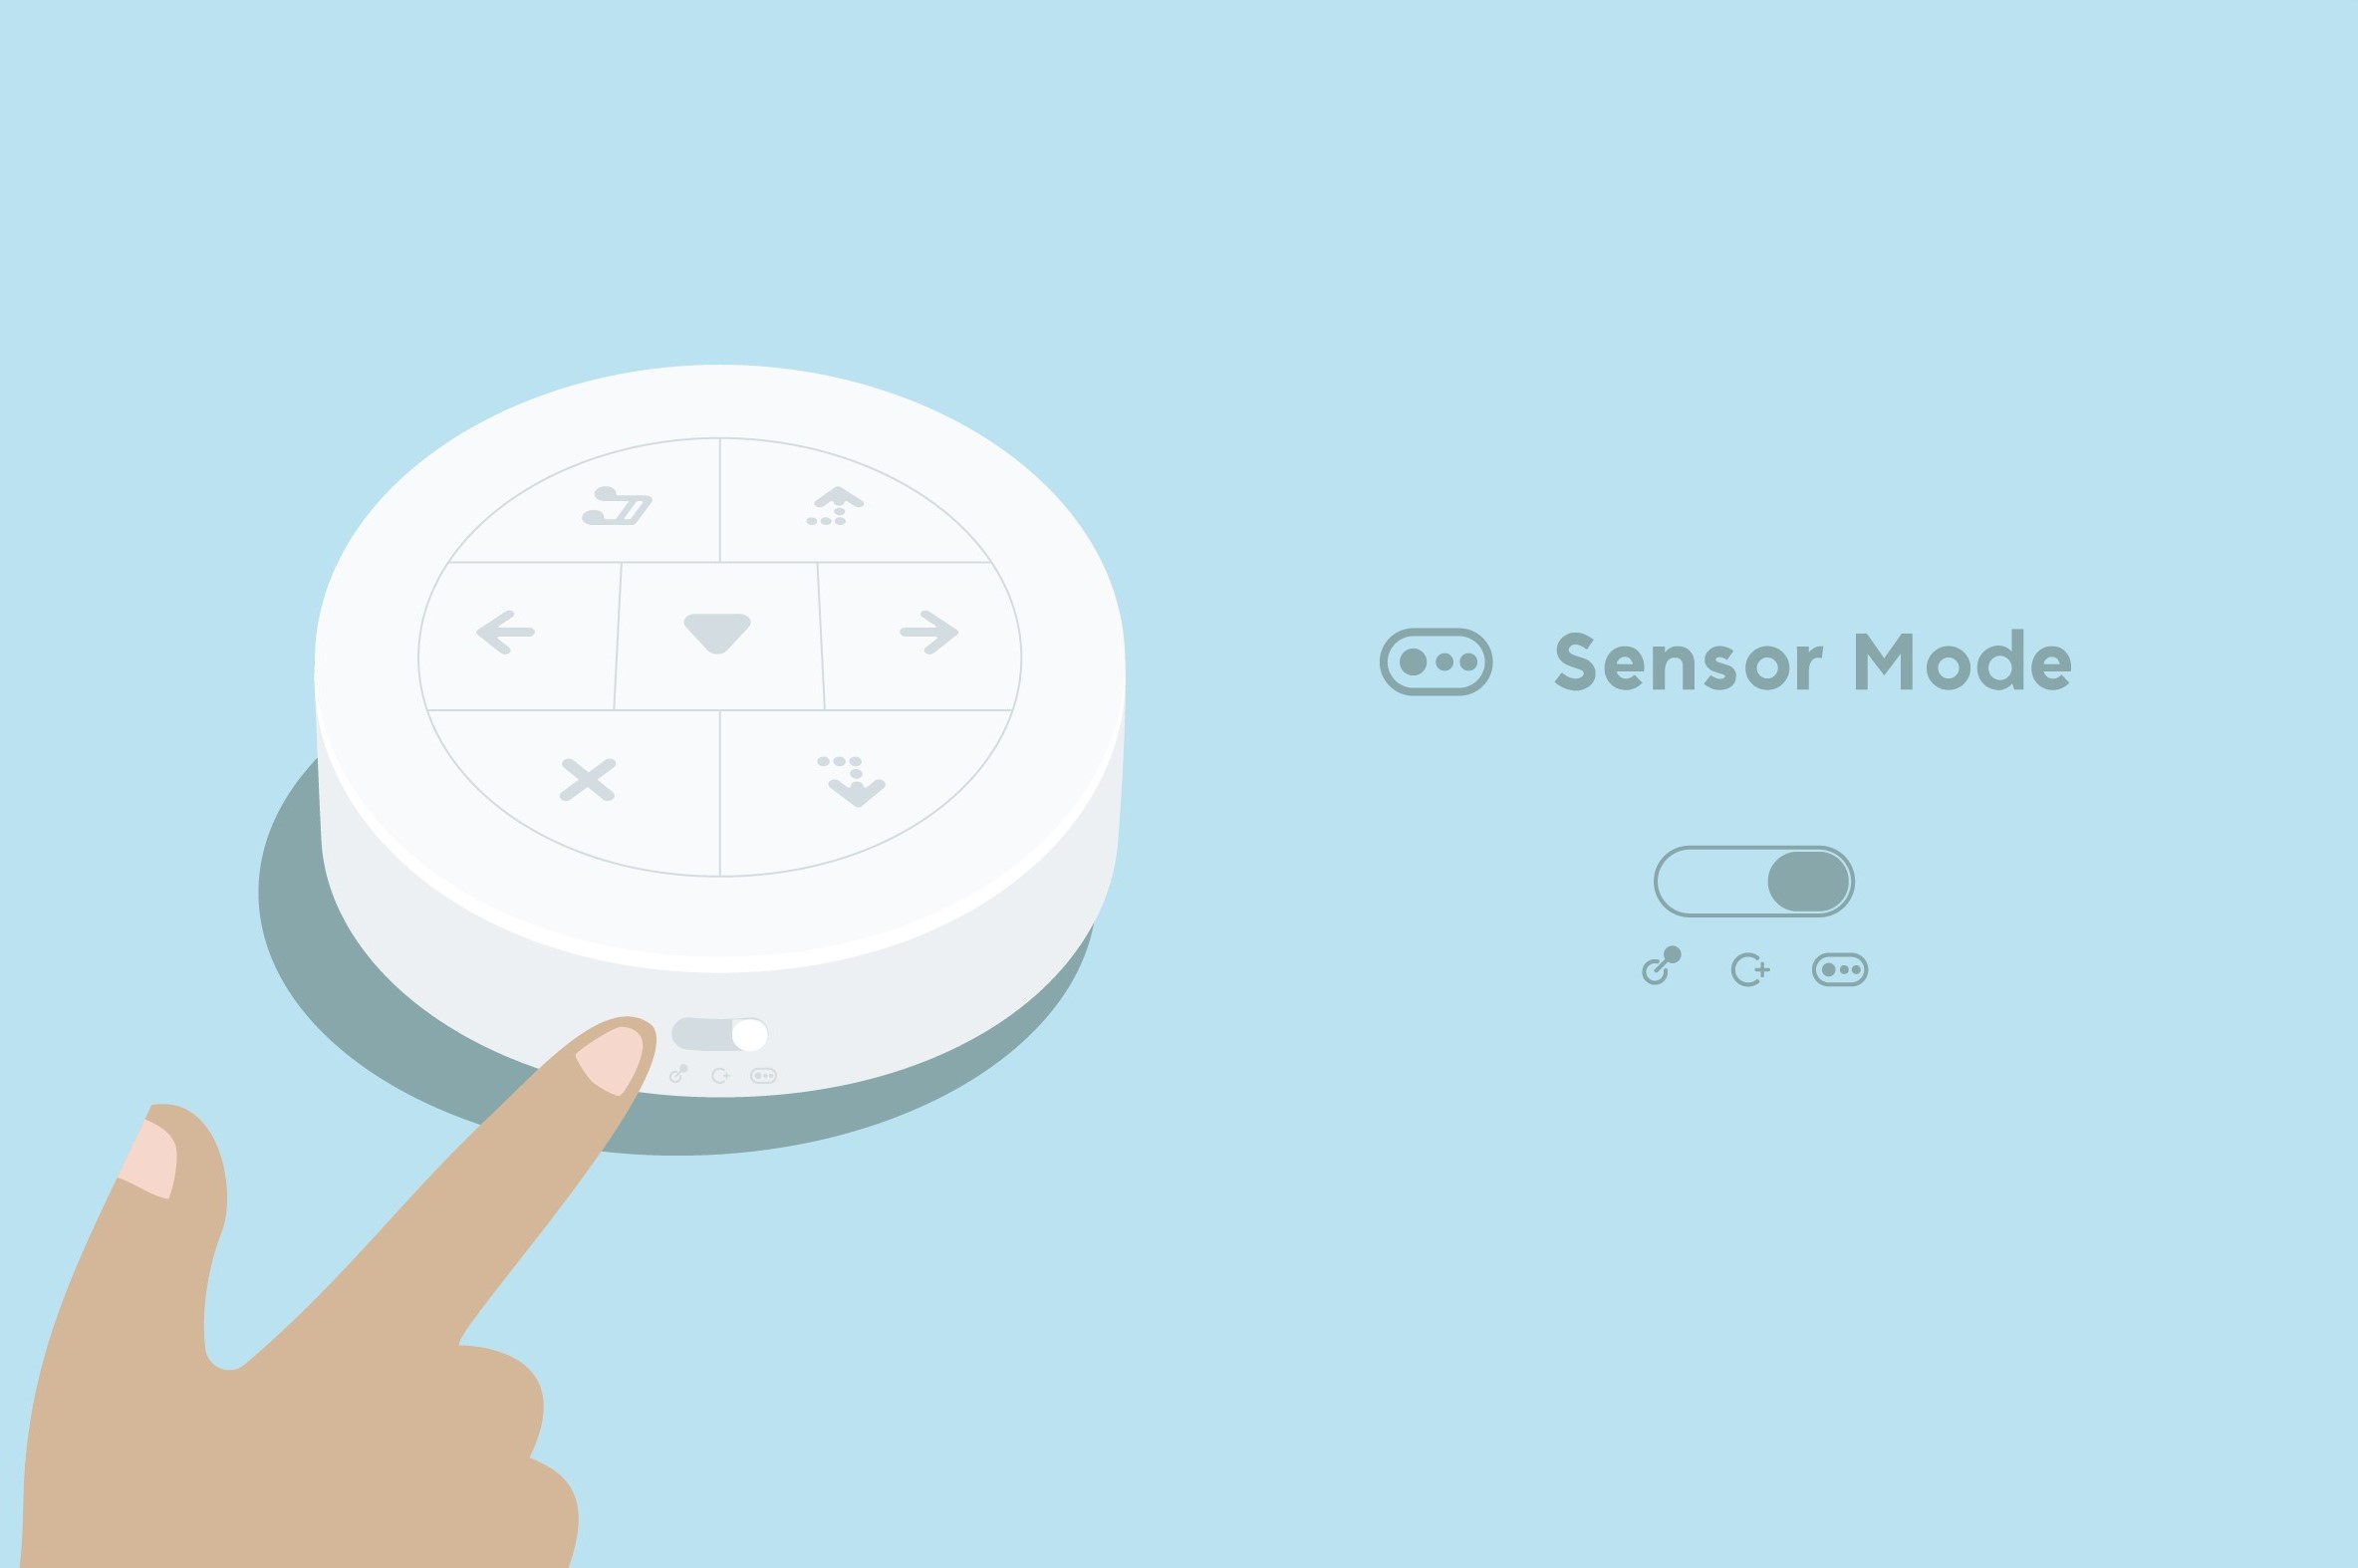
3.1 Sensor Mode:
For Matatalab Controller, there are three modes: Control Mode; Coding Mode; Sensor Mode. When using Matatalab Sensor Add-On package, switch the controller to Sensor Mode.
3.2 How to Pair:
Use Matatalab Sensor Add-On package, you need 2 steps to finish the pairing.
Step 1: The first step is to pair MatataBot and Controller. Press Power Button for 2 seconds to pair controller and MatataBot, when they pair successfully, there will be a "Ding" tone, both indicator lights will turn blue and stay on.
Step 2: After finishing the pairing of MatatatBot and Controller, the second step is to pair the Command Tower and Controller. If the Controller is not paired with the Command Tower successfully, the indicator of the controller will keep flashing red.
⚠️ If it is the first time to pair Controller with Command Tower, you need to double-click the power button of the Command Tower to pair the Command Tower with the Controller.
After the pairing is completed, the indicator lights of the Controller and Command Tower will stay blue.
Unit 4. Coding Blocks
4.1 Wait Until Coding Blocks:
In Matatalab Sensor Add-On Package, Wait Until coding blocks is one of the most important coding blocks. It has two notches, so it can only be attached with the small coding blocks in Sensor Add-On package, Number coding blocks and Angle coding blocks cannot be attached. Using Wait Until coding blocks means that MatataBot will remain the original state until the sensor on MatataBot detects the corresponding conditions before running the next command.
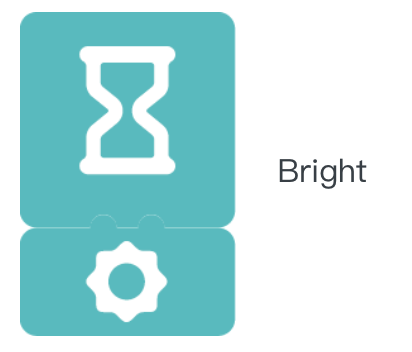
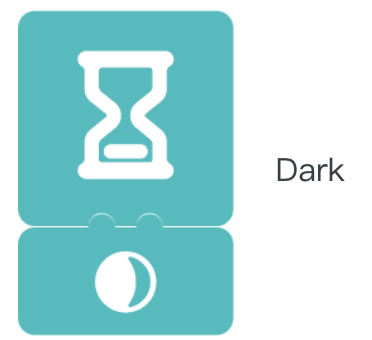
4.2 Bright & Dark Coding Blocks:
In Matatalab Sensor Add-On package, there are two kinds coding blocks to make MatataBot detect the change the light brightness: Bright coding blocks and Dark coding blocks. When attached with Wait until coding blocks, they can make MatataBot detect the change of light brightness and execute the next commands.
Examples provided below:

4.2 Obstacle & No Obstacle Coding Blocks:
In Matatalab Sensor Add-On package, there are two kinds coding blocks to make MatataBot detect the obstacles: Obstacle coding blocks and No Obstacle coding blocks. When attached with Wait until coding blocks, they can make MatataBot detect the obstacles and execute the next commands.
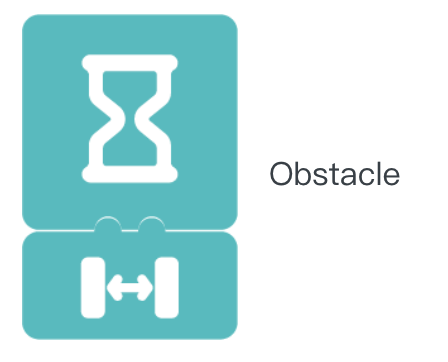
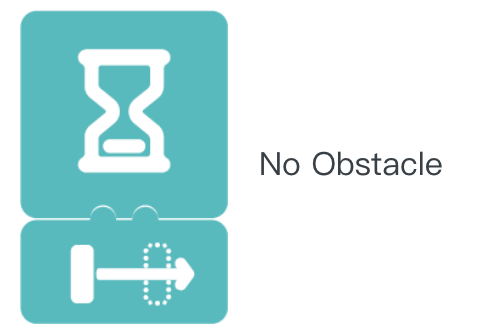
Example provided below:
4.3 Red/Green/Yellow Coding Blocks:
In Matatalab Sensor Add-On package, there are three kinds of coding blocks that can make MatataBot detect the color: Red coding blocks, Green Obstacle coding blocks, and Yellow Coding Blocks. When attached with Wait until coding blocks, they can make MatataBot detect the color and execute the next commands.
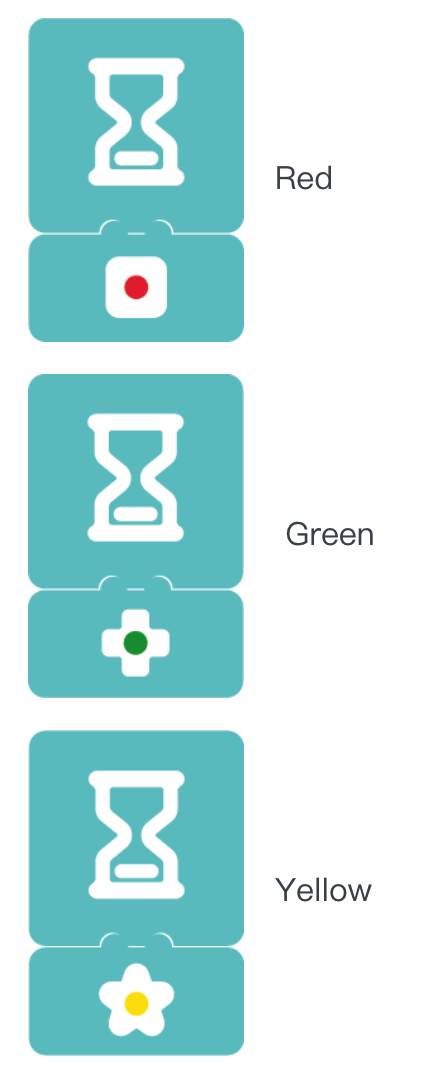
Example provided below:
4.4 Hear Sound Coding Blocks:
In Matatalab Sensor Add-On package, there is one kind of coding block that can make MatataBot detect the sound around: Hear Sound coding blocks. When attached with Wait until coding blocks, they can make MatataBot execute the next commands when it hear a sound.
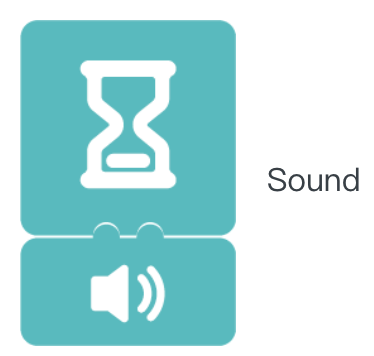
Example provided below:
4.5 Shake Coding Blocks:
In Matatalab Sensor Add-On package, there is one kind of coding block that can make MatataBot detect the controller shake: Shake coding blocks. When attached with Wait until coding blocks, they can make MatataBot execute the next commands when controller is shaken.
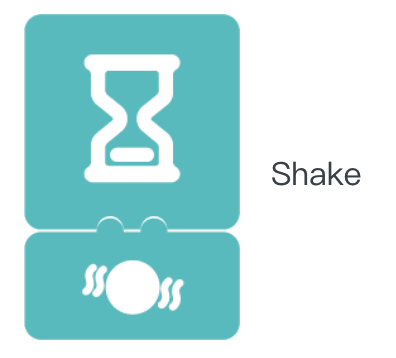
Example provided below:
4.6 Press Coding Blocks:
In Matatalab Sensor Add-On package, there is one kind of coding block that can make MatataBot detect the Play Button press on the controller: Press coding blocks. When attached with Wait until coding blocks, they can make MatataBot execute the next commands when the Play Button on the controller is pressed.
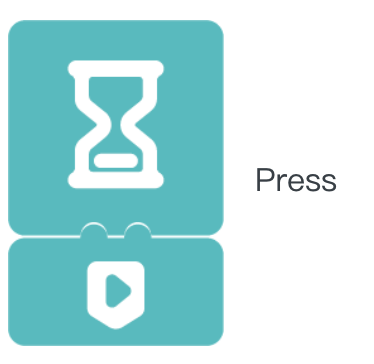
Example provided below:
4.7 Send a Signal/Receive a Signal Coding Blocks:
In Matatalab Sensor Add-On package, there is one kind of coding block to make MatataBot send and receive signal: Send a Signal coding blocks, Receive a Signal coding blocks. They can be used individually or used with other coding blocks. Send a Signal coding blocks can make MatataBot attached with a controller send a signal, when another MatataBot attached with a controller is in the signal range and using Receive a Signal coding blocks, it will receive the signal and execute the next commands.
Note: When MatataBot A sends a signal to MatataBot B, MatataBot B can only receive the signal if the Play button on its programming board has been pressed beforehand.

Example provided below:

4.8 All Light Color/Clockwise Light Color/Counterclockwise Light Color Coding Blocks:
In Matatalab Sensor Add-On package, there is one kind of coding block to let the controller display different color of lights: All Light Color coding blocks, Clockwise Light Color coding blocks, Counterclockwise Light Color coding blocks. All Light Color coding blocks can let the controller display a circle of same color lights. Clockwise Light Color coding blocks and Counterclockwise Light Color coding blocks can let the controller display the lights in clockwise or counterclockwise.
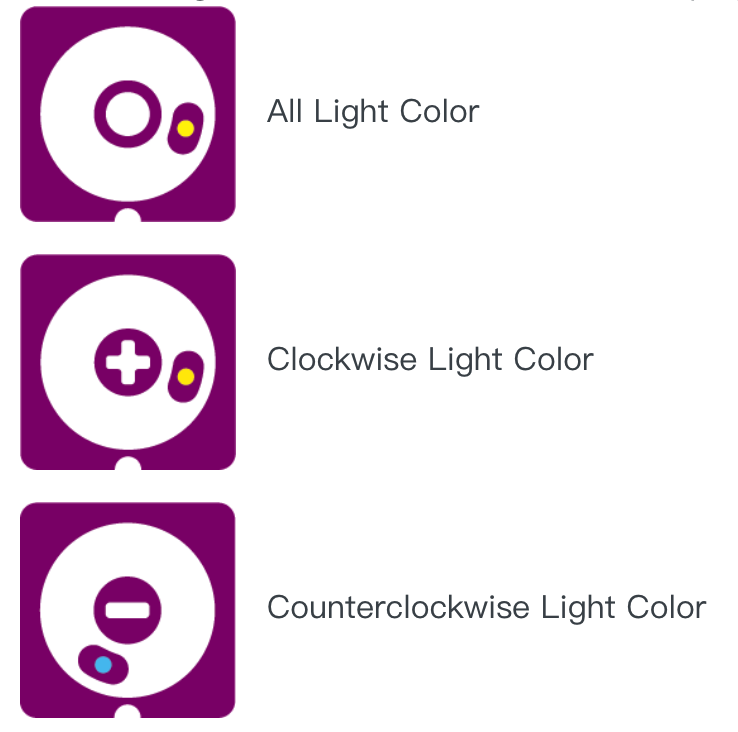
If you want to turn off the lights, you need to shuffle the All Light Color coding blocks to the color black:
Example provided below:

Unit 5. Q&A
- Q1: How to charge MatataBot, Controller, and Command Tower?
A1: Charge MatataBot, Controller, and Command Tower through the USB-C charging cable (A charging cable is included in the box, or use the common USB-C mobile phone charging cable to charge three components at the same time).
- Q2: When should I charge MatataBot, Controller, and Command Tower? How long it will take?
A2: Blue light flashes quickly when the MatataBot, Controller, or Command Tower power is insufficient; The red light is always on during charging; the green light is always on when fully charged. Charging time of MatataBot is 1.5 hours, working time is 5 hours; The controller charging time is 1.5 hours, and the working time is 8 hours; The Command Tower charging time is 3.5 hours, and the working time is 5 hours.
- Q3: How to re-pair?
A3: Press the power button of the Controller or Command Tower three times quickly, they will enter the Bluetooth re-pairing mode, and the light will flash blue quickly. When you hear the sound of "Ding", it indicates that they have been successfully paired, and the indicator lights of both become blue.
- Q4: How old are children suitable for using Matatalab products?
A4: Matatalab educational robot is designed for children from 3-9 years old. It is a very friendly programming enlightenment education product for young children. It is suitable for students from kindergarten to elementary school age.
- Q5: Do children need to know programming to use Matatalab robots?
A5: No, the child does not need any programming or reading foundation.
Copyright © 2023 MATATALAB CO., LTD. All Rights Reserved